
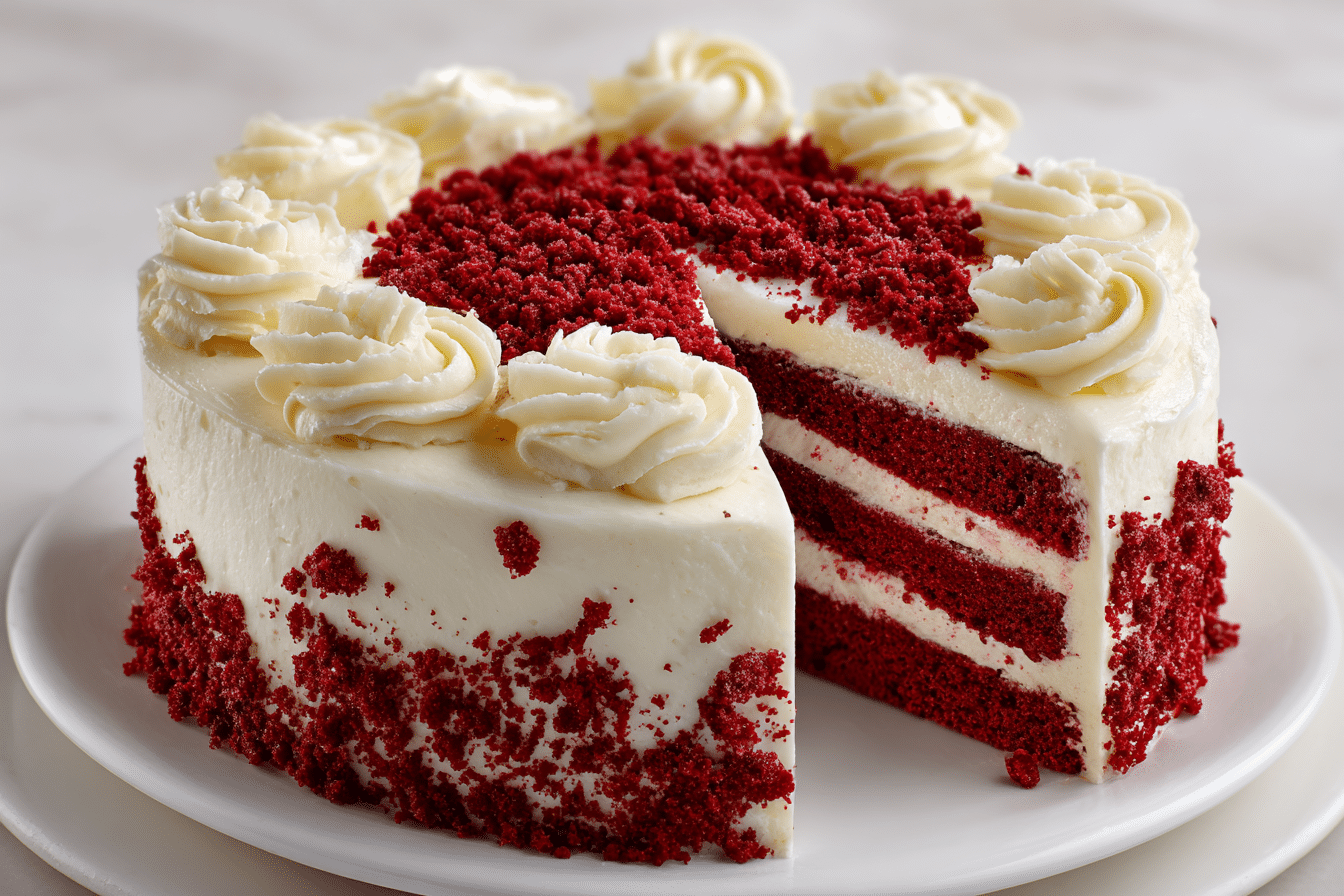
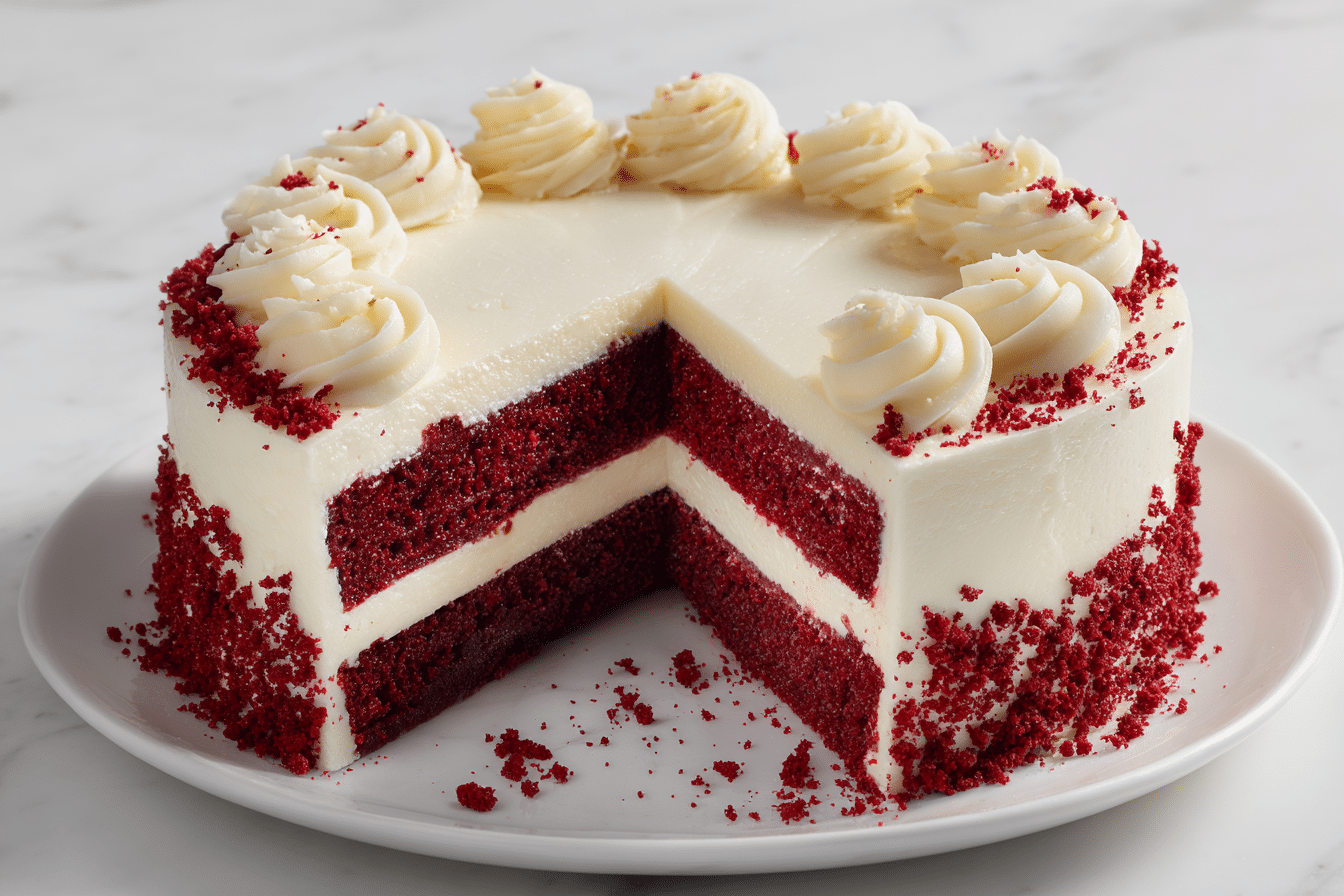
This Red Velvet Cake Recipe is the ultimate dessert indulgence: soft, moist, and laced with the signature cocoa-vanilla flavor that makes red velvet so unforgettable. Topped with a luscious cream cheese frosting, it’s as beautiful to slice as it is satisfying to eat.
With its stunning deep red crumb and balance of tangy, sweet, and buttery notes, red velvet cake is a Southern classic that feels timeless and special. Whether you’re making it for a celebration, holiday, or just because you’re craving something indulgent, this recipe delivers a bakery-worthy cake every time.
Lightly cocoa-flavored, tender-crumbed, and frosted with smooth cream cheese, this cake is guaranteed to steal the show.
Ingredients Overview
All-Purpose Flour: Provides the structure of the cake. Be sure to measure it correctly using the spoon-and-level method for a soft crumb.
Cocoa Powder: Just a touch of unsweetened cocoa gives red velvet its subtle chocolate taste. Too much turns it into a chocolate cake.
Baking Soda: Reacts with the vinegar and buttermilk to give the cake its classic rise and tender texture.
Salt: Balances sweetness and brings out the flavor in the cocoa and vanilla.
Granulated Sugar: Sweetens the cake and helps with moisture retention. White sugar keeps the crumb light and fluffy.
Eggs: Two large eggs bind the batter and add richness. Use room temperature eggs for better emulsification.
Vegetable Oil: Keeps the cake extra moist and tender. Oil is essential for the light, velvety texture.
Buttermilk: Adds tang and activates the baking soda. If you don’t have buttermilk, use milk with lemon juice or vinegar.
White Vinegar: A classic red velvet ingredient. It reacts with baking soda to make the cake rise and adds a slight tang.
Vanilla Extract: Deepens flavor and rounds out the cocoa notes.
Red Food Coloring: Gives the cake its signature hue. Gel food coloring creates a more vibrant color with less liquid.
Cream Cheese Frosting: Made from cream cheese, butter, powdered sugar, and vanilla. Rich, tangy, and smooth.
Step-by-Step Instructions
-
Preheat the Oven: Set oven to 350°F (175°C). Grease and flour two 9-inch round cake pans or line them with parchment paper.
-
Sift Dry Ingredients: In a medium bowl, sift together 2½ cups all-purpose flour, 2 tablespoons unsweetened cocoa powder, 1 teaspoon baking soda, and ½ teaspoon salt.
-
Mix Wet Ingredients: In a large mixing bowl, beat 1½ cups granulated sugar and 1 cup vegetable oil until smooth. Add 2 eggs one at a time, beating well after each. Mix in 1 teaspoon vanilla extract and 1 tablespoon red food coloring.
-
Add Buttermilk and Vinegar: Stir in 1 cup buttermilk and 1 teaspoon white vinegar.
-
Combine Wet and Dry: Add dry ingredients in three batches to the wet ingredients, mixing until just combined. Do not overmix to keep the crumb tender.
-
Bake: Divide batter evenly between the prepared pans. Bake for 30–35 minutes, or until a toothpick inserted into the center comes out clean.
-
Cool: Let cakes cool in pans for 10 minutes, then turn out onto wire racks to cool completely before frosting.
-
Make Cream Cheese Frosting: Beat 8 oz cream cheese and ½ cup (1 stick) softened butter until smooth. Add 2½ cups powdered sugar and 1 teaspoon vanilla extract. Beat until creamy and fluffy.
-
Frost the Cake: Once layers are fully cooled, spread frosting over one cake layer, top with the second layer, and frost the top and sides. Smooth with a spatula or leave rustic swirls.
Avoid These Mistakes:
-
Don’t skip the sifting—it ensures even distribution of cocoa and rising agents.
-
Avoid overmixing the batter or the cake will be dense.
-
Let the cake cool fully before frosting to prevent melting.
Tips, Variations & Substitutions
Use Cake Flour: For an even softer crumb, substitute all-purpose flour with cake flour (same amount).
Cupcakes Instead: This batter makes 24 cupcakes. Bake at 350°F for 18–20 minutes.
Make It a Sheet Cake: Use a 9×13-inch pan and bake for 35–40 minutes. Frost directly in the pan.
Add Chocolate Chips: Fold in ½ cup mini chocolate chips for a subtle texture twist.
Natural Food Coloring: Use beet powder or pomegranate juice for a natural red hue, though the color may be more muted.
No Buttermilk? Combine 1 cup milk with 1 tablespoon vinegar or lemon juice. Let sit 5 minutes before using.
Serving Ideas & Occasions
This red velvet cake is perfect for:
-
Valentine’s Day or Anniversaries: Its red color and rich flavor are festive and romantic.
-
Birthdays: A showstopper for anyone who loves sweet and tangy desserts.
-
Holiday Tables: A beautiful alternative to chocolate or spice cakes.
-
Casual Treats: Bake once, enjoy all week.
Serve with:
-
Fresh berries for a fruity contrast
-
A scoop of vanilla ice cream
-
Coffee, milk, or a dessert wine for an elegant finish
Store covered at room temperature for a day, or refrigerate for longer freshness.
Nutritional & Health Notes
While red velvet cake is a classic indulgence, you can adjust the recipe slightly for a lighter touch:
-
Use reduced-fat cream cheese
-
Cut the frosting sugar slightly for less sweetness
-
Replace a portion of oil with applesauce for lower fat
This cake provides satisfying flavor and texture in each slice. It’s naturally vegetarian and easily adaptable for special diets with dairy-free or gluten-free swaps.
FAQs
1. Can I make red velvet cake without food coloring?
Yes. The cake will be more of a reddish-brown hue from the cocoa and buttermilk alone. You can use beet juice or skip the color altogether.
2. What’s the difference between red velvet and chocolate cake?
Red velvet uses less cocoa and includes buttermilk and vinegar, which create a tangy flavor and tender crumb. Chocolate cake is richer and more chocolate-forward.
3. Can I make this cake ahead of time?
Yes. Bake the layers a day in advance and store tightly wrapped. Frost just before serving for the freshest texture.
4. How do I store leftovers?
Cover and refrigerate for up to 5 days. Let come to room temperature before serving for best texture.
5. Can I freeze red velvet cake?
Yes. Wrap individual slices or whole layers tightly in plastic wrap and freeze for up to 2 months. Thaw in the fridge overnight.
6. Is this recipe good for beginners?
Absolutely. It uses simple steps and common ingredients, and the batter is very forgiving.
7. Can I make it gluten-free?
Yes. Use a 1:1 gluten-free flour blend. Be sure to check your baking soda and other ingredients for cross-contamination if needed.
Red Velvet Cake Recipe That’s Soft, Moist, and Creamy
A soft, moist red velvet cake with a light cocoa flavor and tangy cream cheese frosting. Classic, beautiful, and perfect for any celebration.
- Prep Time: 20 minutes
- Cook Time: 35 minutes
- Total Time: 1 hour
- Yield: 12–14 slices
Ingredients
Cake:
2½ cups all-purpose flour
2 tbsp unsweetened cocoa powder
1 tsp baking soda
½ tsp salt
1½ cups granulated sugar
1 cup vegetable oil
2 large eggs
1 tsp vanilla extract
1 tbsp red food coloring
1 cup buttermilk
1 tsp white vinegar
Frosting:
8 oz cream cheese, softened
½ cup (1 stick) butter, softened
2½ cups powdered sugar
1 tsp vanilla extract
Instructions
-
Preheat oven to 350°F. Grease and flour two 9-inch pans.
-
Sift flour, cocoa, baking soda, and salt.
-
In another bowl, beat sugar and oil. Add eggs, vanilla, and food coloring.
-
Stir in buttermilk and vinegar.
-
Mix in dry ingredients in batches until just combined.
-
Divide into pans and bake 30–35 minutes.
-
Cool 10 minutes in pans, then fully on racks.
-
Beat frosting ingredients until smooth.
-
Frost cooled layers and decorate as desired.
Notes
Use cake flour for extra softness. Store in fridge up to 5 days. Makes 24 cupcakes or one 9×13 cake.